Sunday, 5 May 2013
Monday, 25 February 2013
Sunday, 24 February 2013
Sunday, 4 November 2012
Removing and refittting Battery
Work in date: 05/11/2012
List of tools and Equipment used?
Open ended spanner, Digital Multimeter, Overall and safety boot.
Describe the process used in completing the task:
1. Test the battery of vehicle that get the voltage 12.45 V.
2. Take off the negative pole first, and put it on a plastic part.
3. Take off the positive pole, and put it on a plastic part.
4. Take off the top screw, then bottom screw.
5. Put the battery on the plastic bumper, and keep original position put on the grand.
6. Put back the battery to original position the vehicle.
7. Put back the positive pole first, and put back the negative pole.
8. Screw up bottom and top screws.
Consider Risk Assessment:
Flow Sparks
Reflect on activity:
Correct remove and refitting battery. when refitting battery, turn the screws to tighten and correct position is very important, to avoid battery movement. Fit Positive first (Red one), because it reduces the chance of shorting the battery out which could cause the battery to explode.
Start by taking removing the negative:

Once the negative terminal has been slackened remove it and tuck it away so it can't touch the terminal again whilst you are loosening the positive.

Remove the positive terminal connector (red wire) on the other end.


Sunday, 14 October 2012
Build a tool box
Work in date: 27/09/2012
Describe the process used in completing the task:
1. Find some steels metal, then file edge to cut sharp. Make a tool box bottom and body, 400mm(Length) × 592mm(Width), fold the bottom to: 197mm(High), 198mm(Width of bottom) and 197mm(High).


2. Make two tool box end, 197mm(High), 192mm(Width), leave same degree of two sides. then use hacksaw to cut rubbish metal and fold two box end.


3. Make a tool box lid lower. 433mm(Length), 120mm(Width), use hacksaw to cut rubbish metal and fold: 14mm(four edges width).
4. Make a tool box lid upper. 433mm(Length), 132mm(Width), use hacksaw to cut rubbish metal and fold: 14mm(four edges width).


Work in date: 01/10/2012
5. Make a tool tray. 392mm(Length), 184mm(Width). use hacksaw to cut rubbish metal and fold: 30mm(four edges width).


6. Make a handle for tool box.
7. MIG Welding to connect all leaking of metal.
8. Engineering oil protect surface to avoid rust.


Wednesday, 19 September 2012
Use a lathe to make a punch
Work in date: 19/09/2012
 List of tools and Equipment used:
Lathe, Overalls and safety boots, Glasses,
Process:
Turn power on, adjust lathe all equipment to correct position.
Put "round" on the lathe and make tight.
Adjust lathe scales to "0", and cutting to 90°, make tight.
Calculate the "round" cutting length and diameter.
Length: 18mm, 22mm, 25mm, 28mm, 32mm, 75mm and 12mm
Diameter leave: 12.57mm, 15.75mm, 18.9mm, 22.1mm, 24.02mm, 24.8mm and 22.23mm
Diameter cutting:
25-12.57=12.43mm
25-15.75=9.25mm
25-18.9=6.1mm
25-22.1=2.9mm
25-24.02=0.98mm
25-24.8=0.2mm
25-22.23=2.77mm
Last cutting from 12mm length to leave 2mm × 45°
Reminder:
After finish each one stage, must adjust scales to "0"

Tuesday, 11 September 2012
Welding
Work in date: 23/08/2012
Oxy-acetylene welding is one type of welding process used in metal fabrication. This type of welding uses a torch fed by an oxygen and acetylene fuel mixture to heat the metal parts to be welded as well as the welding filler rod used to add material to the weld. Oxy-acetylene welding has been in use since the turn of the 20th century, and does not require electrical power, allowing the welding equipment to be used in a wide variety of environments.


Fusion Welding(Oxyacetylene)Processes:


Correct turn valve on, and check pressure of gas. Use weld lighter spark carefully fire gas, adjust fire to neutral flame. Find two same size steels plates, and use weld magnet hold one of them. One hand hold the weld torch, other hand hold weld filler rod. Put two steels plates connect a sideways. Movement of rod straight, and motion of blowpipe sideways. After finished, turn off all valve, and put all equipment back.
Work in date: 04/09/2012
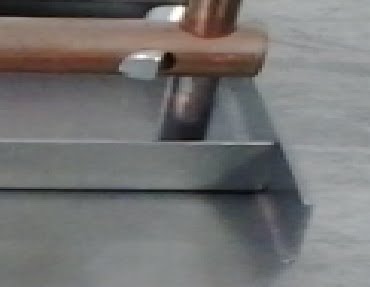
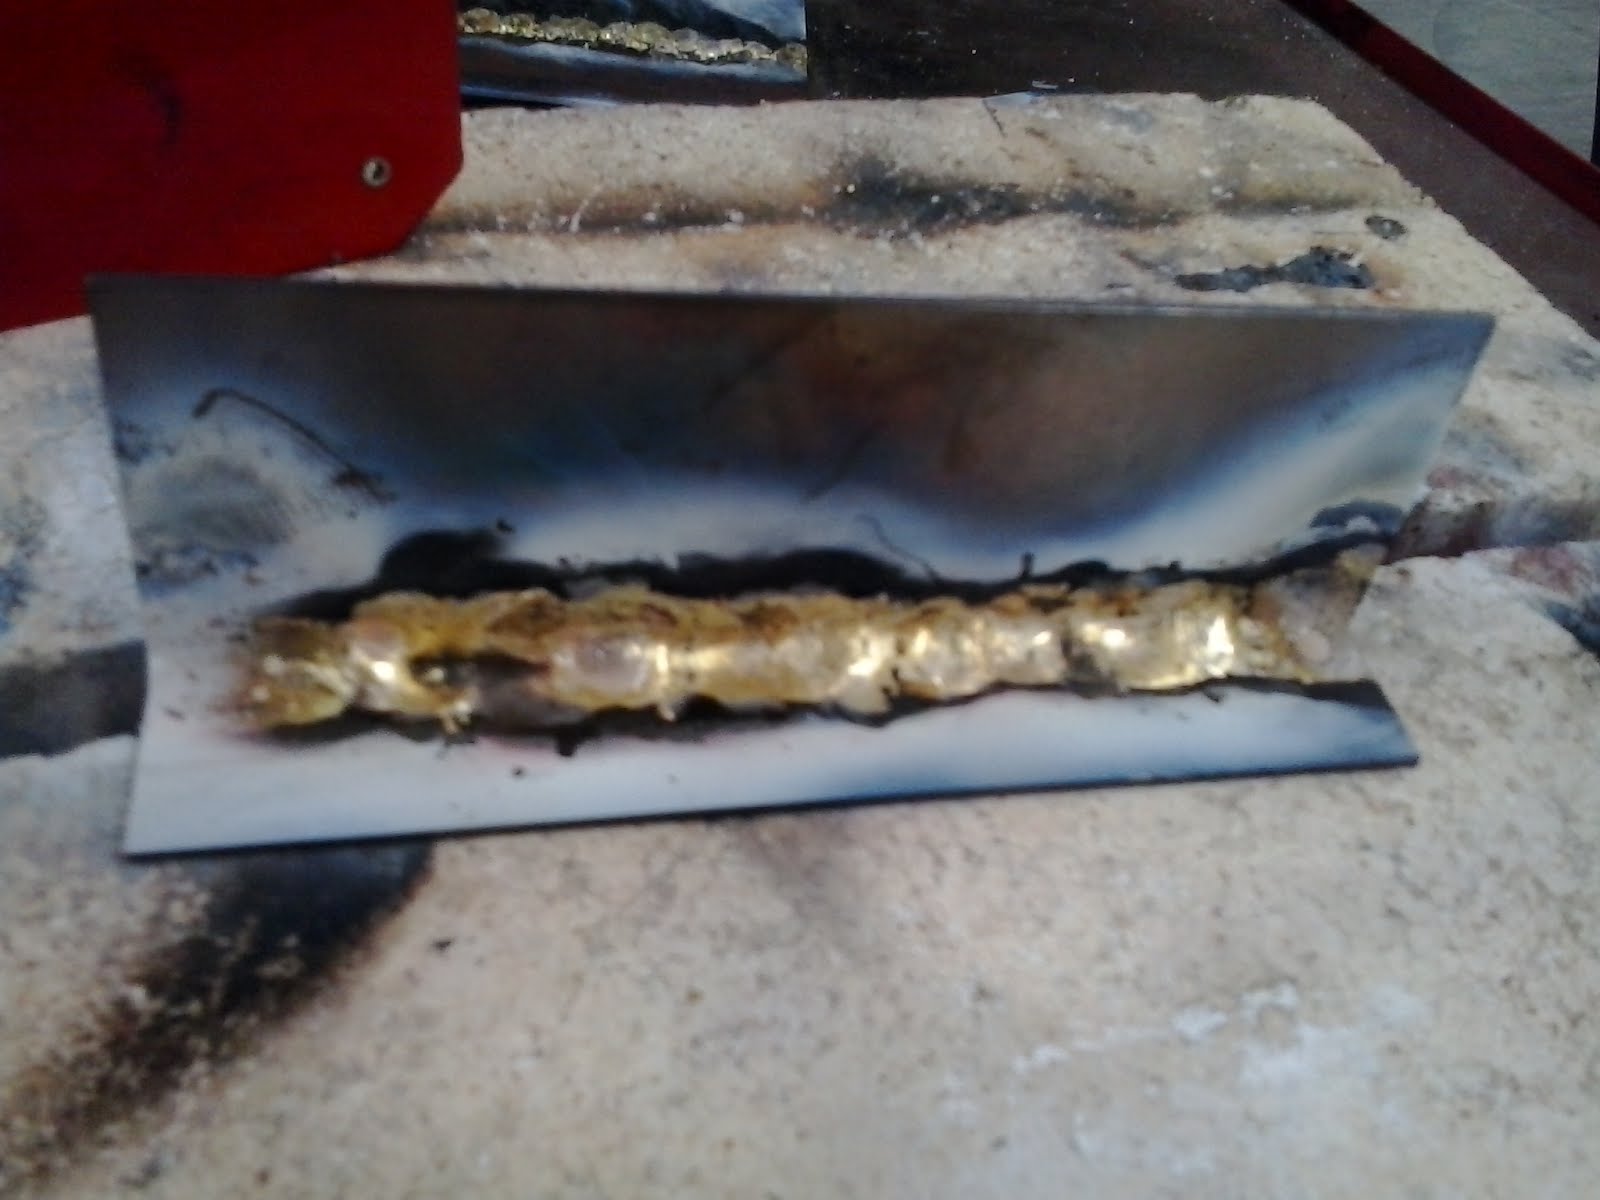
Brazing Processes:

Metal splinter, Hands and eye injuries, Dust particles, Hot Metal, Sparks, Sharp edges and burrs, Explode.
List some photos from workshop:


Work in date: 18/09/2012
MIG Welding
Metal Inert Gas (MIG) welding, also sometimes called Gas Metal Arc Welding (GMAW) is a process that was developed in the 1940s for welding aluminum and other non-ferrous metals. MIG welding is an automatic or semi-automatic process in which a wire connected to a source of direct current acts as an electrode to join two pieces of metal as it is continuously passed through a welding gun. A flow of an inert gas, originally argon, is also passed through the welding gun at the same time as the wire electrode. This inert gas acts as a shield, keeping airborne contaminants away from the weld zone.
Process:
The Welder: Inside the welder you will find a spool of MIG wire and a series of rollers that pushes the wire out to the welding torch. There isn't much going on inside this part of the welder, so it's worth it to take just a minute and familiarize yourself with the different parts.
The Gas Supply: Assuming you are using a shielding gas with your MIG welder there will be a cylinder of gas behind the MIG. This is either 100% Argon or a mixture of CO2 and Argon. This gas shields the weld as it forms. Without the gas your welds will look brown, splattered and just generally not very nice.
The Welding Torch: The welding torch is the business end of things. It's where most of your attention will be directed during the welding process. The MIG torch consists of a trigger that controls the wire feed and the flow of electricity.
Oxy-acetylene welding is one type of welding process used in metal fabrication. This type of welding uses a torch fed by an oxygen and acetylene fuel mixture to heat the metal parts to be welded as well as the welding filler rod used to add material to the weld. Oxy-acetylene welding has been in use since the turn of the 20th century, and does not require electrical power, allowing the welding equipment to be used in a wide variety of environments.


Fusion Welding(Oxyacetylene)Processes:


Correct turn valve on, and check pressure of gas. Use weld lighter spark carefully fire gas, adjust fire to neutral flame. Find two same size steels plates, and use weld magnet hold one of them. One hand hold the weld torch, other hand hold weld filler rod. Put two steels plates connect a sideways. Movement of rod straight, and motion of blowpipe sideways. After finished, turn off all valve, and put all equipment back.
Work in date: 04/09/2012
Brazing Processes:
 |
| Bronze welding flux for braze welding of cast iron, steel, steel castings, malleable iron, etc. |
- Correct turn valve on, and check pressure of gas.
- Use weld lighter spark carefully fire gas, adjust fire to oxidizing flame.
- Find two same size steels plates, and use weld magnet hold one of them and leave a gap between steels.
- One hand hold the weld torch, other hand hold weld filler metal and with bronze weld flux.
- Put two steels plates connect a sideways.
- Movement of weld filler metal straight, and motion of blowpipe sideways.
- After finished, turn off all valve, and put all equipment back.
Metal splinter, Hands and eye injuries, Dust particles, Hot Metal, Sparks, Sharp edges and burrs, Explode.
List some photos from workshop:


Work in date: 18/09/2012
MIG Welding
Metal Inert Gas (MIG) welding, also sometimes called Gas Metal Arc Welding (GMAW) is a process that was developed in the 1940s for welding aluminum and other non-ferrous metals. MIG welding is an automatic or semi-automatic process in which a wire connected to a source of direct current acts as an electrode to join two pieces of metal as it is continuously passed through a welding gun. A flow of an inert gas, originally argon, is also passed through the welding gun at the same time as the wire electrode. This inert gas acts as a shield, keeping airborne contaminants away from the weld zone.
Process:
The Welder: Inside the welder you will find a spool of MIG wire and a series of rollers that pushes the wire out to the welding torch. There isn't much going on inside this part of the welder, so it's worth it to take just a minute and familiarize yourself with the different parts.
The Gas Supply: Assuming you are using a shielding gas with your MIG welder there will be a cylinder of gas behind the MIG. This is either 100% Argon or a mixture of CO2 and Argon. This gas shields the weld as it forms. Without the gas your welds will look brown, splattered and just generally not very nice.
The Welding Torch: The welding torch is the business end of things. It's where most of your attention will be directed during the welding process. The MIG torch consists of a trigger that controls the wire feed and the flow of electricity.
 |
| Clamp the negative lead from the welder onto your project or, in this case, the welding table |
 |
| Butt joint |
 |
| Lap joint |
 |
| T-joint |
 |
| Edge joint |
Subscribe to:
Comments (Atom)